You can use our AFL UTM Tracker plugin to populate dynamic UTM parameters into your Zoho Bookings Forms embedded in your WordPress website.
Minimum Requirements
- AFL UTM Tracker v2.23.1
- WordPress v5.0.0
- Zoho Bookings
Steps
Let’s summarize the steps to populate the UTM parameters into your Zoho Bookings.
- Enable the “Javascript Merge Tag” feature under the AFL UTM Tracker plugin settings.
- Create Hidden Fields on Zoho Bookings.
- Get your Zoho Bookings iframe Embed Code.
- Use our Appfromlab HTML Code.
- Paste our HTML Code in your WordPress page.
- Test your Zoho Bookings.
- View your Zoho Bookings appointments.
1. Enable the Javascript Merge Tag feature
You will utilize our Javascript Merge Tag feature to populate the UTM parameters into the Zoho Forms hidden fields.
- Login to your WordPress Admin dashboard.
- Go to AFL UTM Tracker > Settings page.
- Under Attribution section, enable the Javascript Merge Tag feature.
- Save settings.
- Clear all page cache from your caching plugin.
2. Create hidden fields on Zoho Bookings
- Login to your Zoho Bookings account.
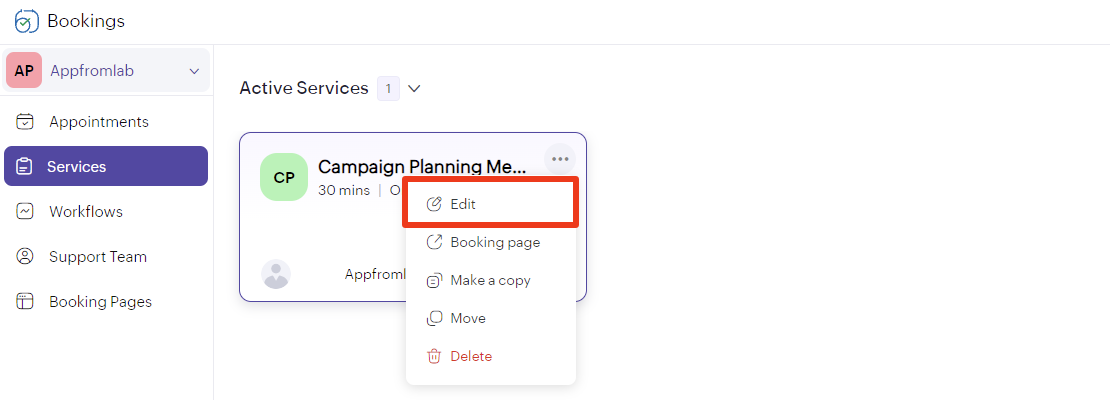
- Go to Services > Edit a Service.
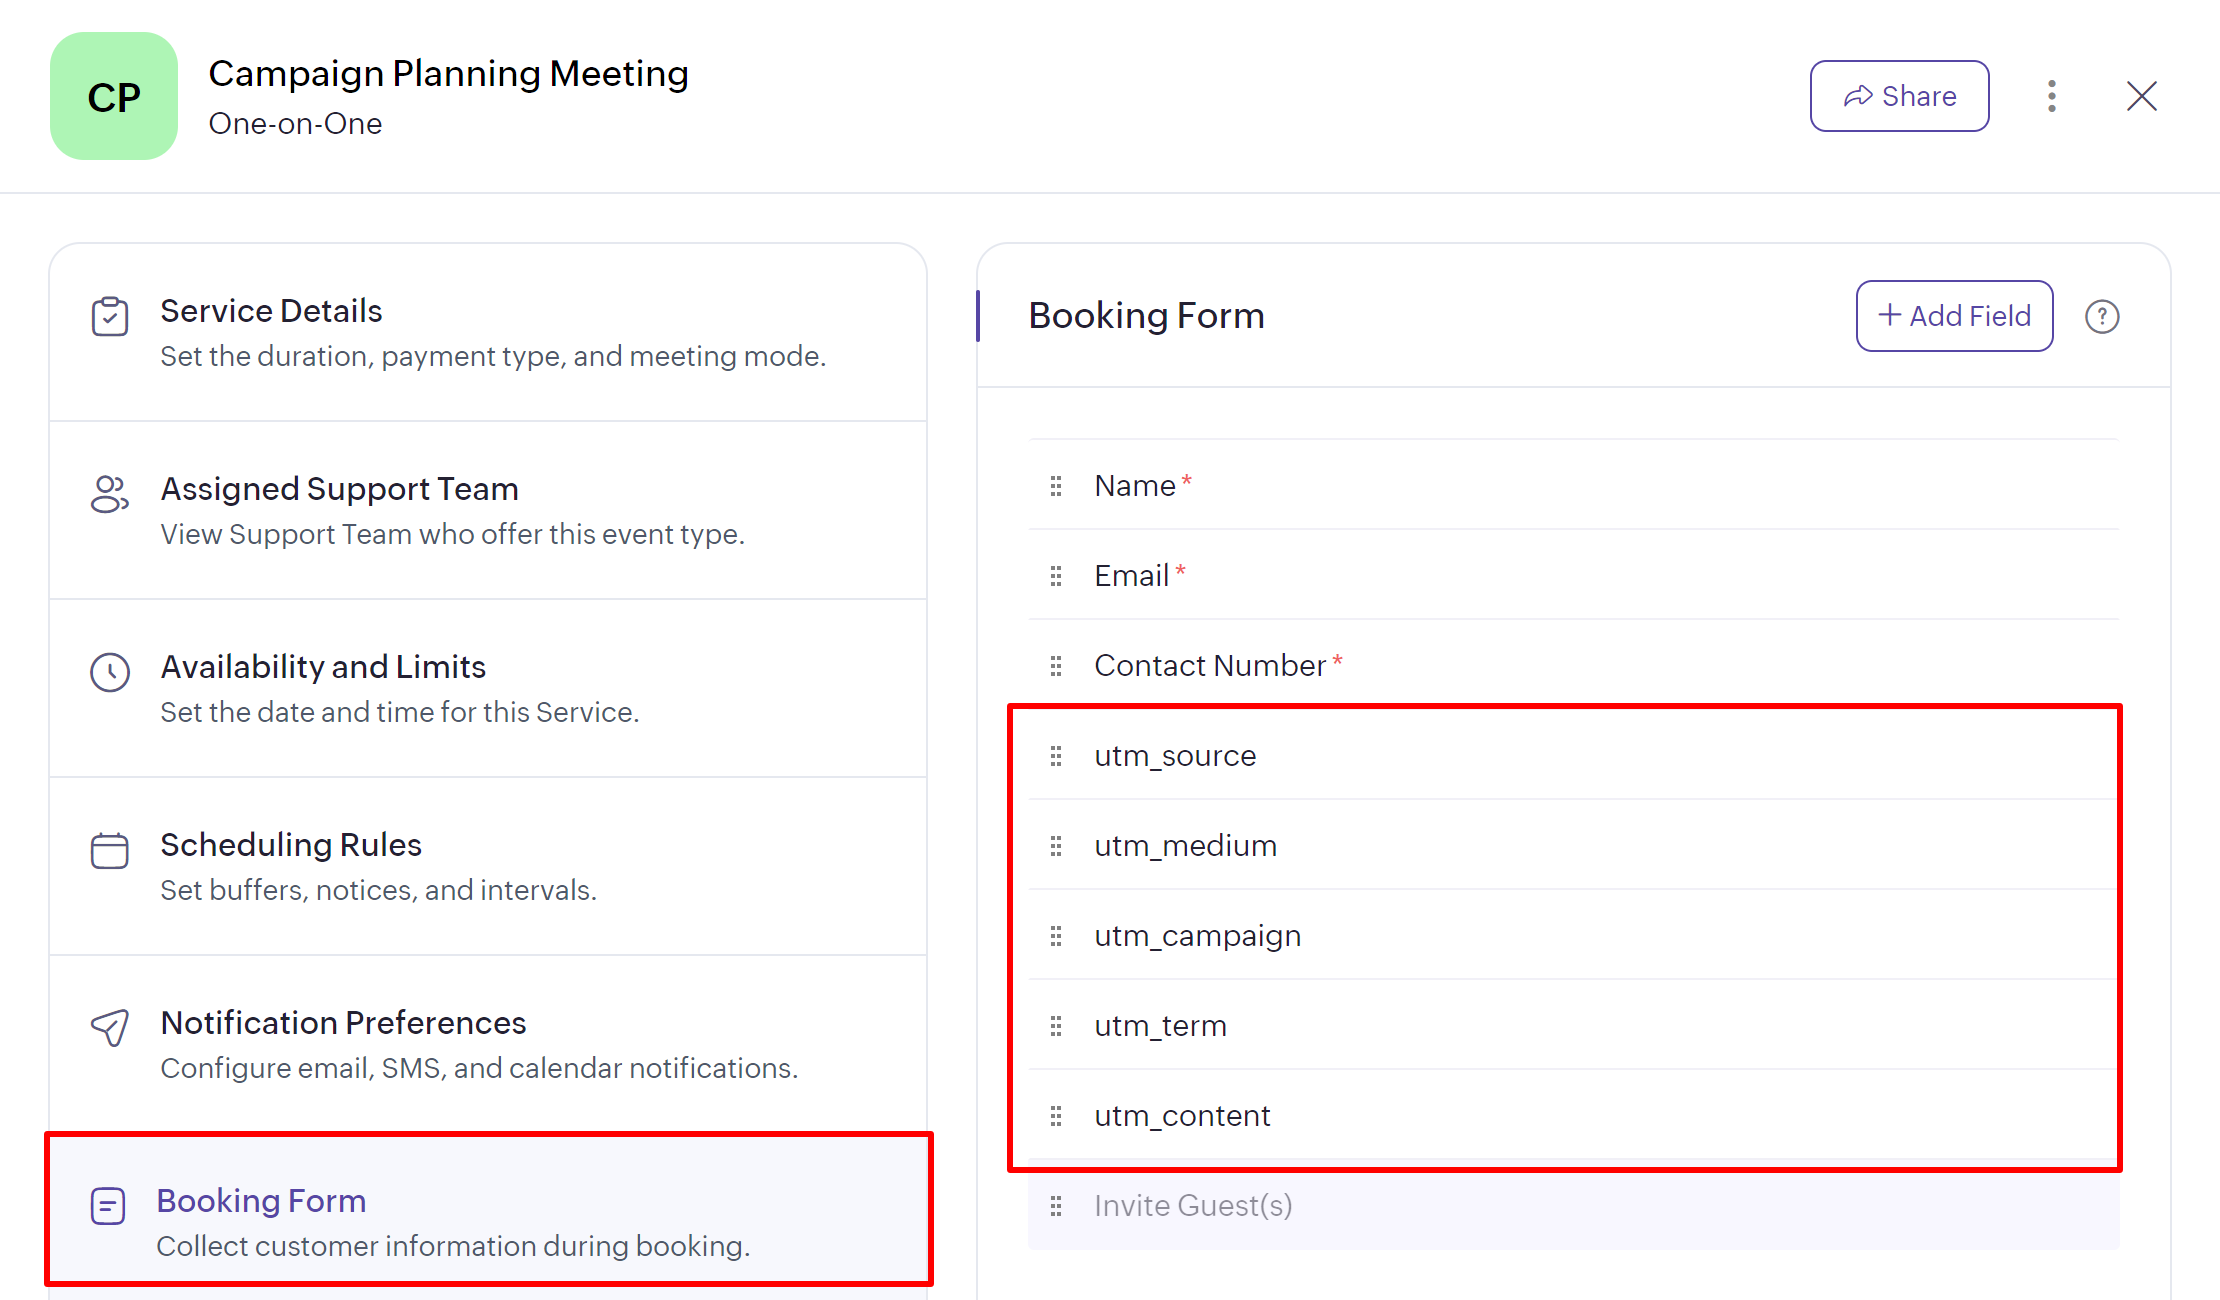
- Go to Booking Form.
- Add Field
- Field Label: utm_source
- Field Type: SingleLine
- Mandatory: No
- Save.
- Hide Field.
- Repeat the above step for other UTM parameters.
- utm_medium
- utm_campaign
- utm_term
- utm_content
3. Get your Zoho Bookings iframe Embed Code
- On the top right page, click on the “Share” button.
- Click on the “Embed as Widget” tab.
- Copy code (we will be using this in the next section).
Take note of your iframe src URL highlighted in bold below (we will be using this in the next section).
<iframe width='100%' height='750px' src='https://xxxxxx.zohobookings.com/portal-embed#/xxxxxx' frameborder='0' allowfullscreen=''></iframe>
5. Use our Appfromlab HTML Code
We will be using our HTML wrapper to surround the Zoho Bookings iframe embed code.
- Replace Line 7 with your Zoho Bookings iframe embed code (from previous section).
- On Line 2, paste your iframe src URL (from previous section) into the data-afl_utm_src=”” attribute.
- Copy the HTML code (this will be used in the next section).
HTML Code
Configuring the data attribute
See more data attribute options (e.g optout value) for iframe-based forms.
6. Paste our HTML Code into your WordPress page
- Login to your WordPress admin dashboard.
- Edit your Contact Form page.
- Add a “Custom HTML” block.
- Paste the Appfromlab HTML Code from the previous step into the block.
- Save page and clear page cache.
7. Test your Zoho Bookings
- Generate your UTM tracking URL.
- Visit your UTM URL in private-browsing mode to simulate a new visitor.
- Submit the form.